Header Bar
Table of Contents
Header Bar
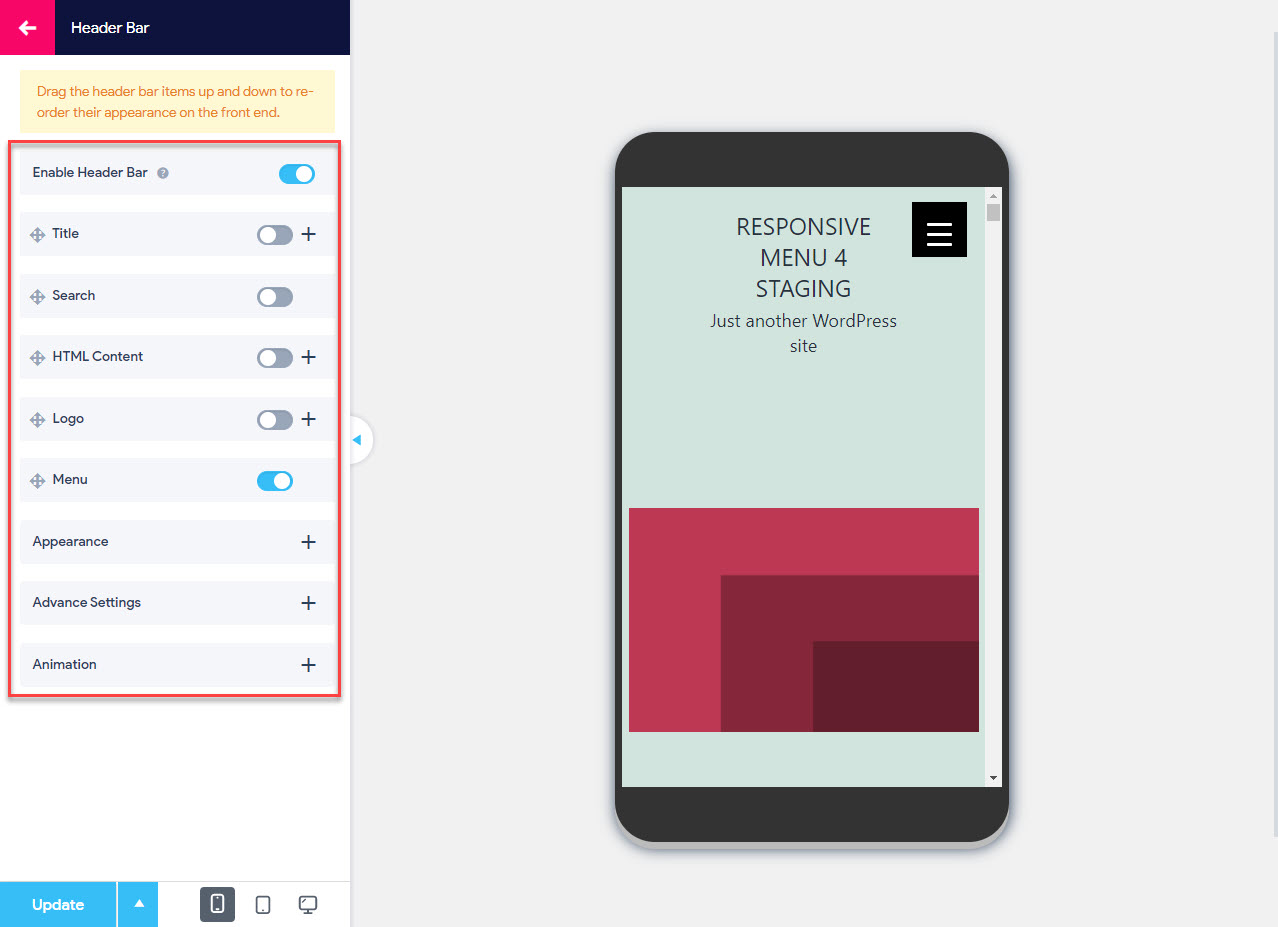
Header Bar is the fourth Menu Customization option that you will find while customizing your Responsive Menu. It further consists of four header bar items and three sub menu options
A header bar is a significant part of a website and without it, a website looks incomplete. It is a common horizontal element which is placed at the top of windows.
Its Customization consists of header bar items like Title, Search, HTML Content, and Logo. And the other three sub menu items let you enable the header bar and manage its appearance and set breakpoints.
First option you will find a toggle button with which you can enable/disable the header bar.
1. Header Bar Items
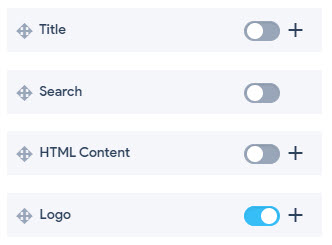
Header Bar – Title
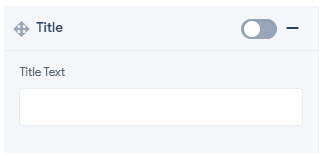
- Title – This input field lets you set the title text to be used in the header bar
Header Bar – Search

- Search – If enabled it lets you display a search bar on the header bar
Header Bar – HTML Content
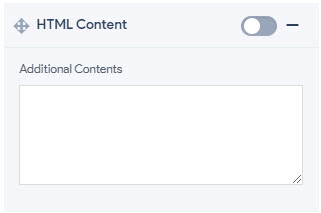
- Additional Contents – If enabled, this option lets you add any custom HTML code, shortcodes, text, social media information, shopping cart information on the header bar
Header Bar – Logo
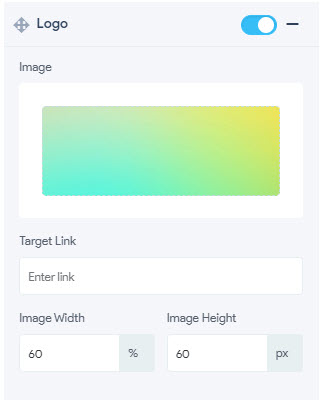
- Image – This option lets you add your custom logo image using this field. It is always a best practice to add logo images with png extensions on the header bar
- Target Link – This option lets you set a targeted link on the logo image. The URL you put in this field will take the user to that specific page whenever he clicks on the logo image. Generally, homepage hyperlink is put in this field
- Image Width – Lets you set width of the logo image in pixels(px), percentage(%), emphasize(em), root em(rem), viewport width(vw), viewport height(vh) units
- Image Height – Lets you set height of the logo image in pixels(px), percentage(%), emphasize(em), root em(rem), viewport width(vw), viewport height(vh) units
Header Bar – Menu

- Menu – By Enabling this option you can display a menu on the header bar
2. Enable Header Bar
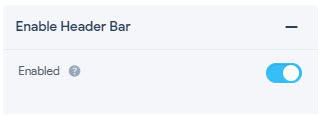
- Enabled – Enabling this option will show a header bar on the website. All the styling options you apply to the header bar will not show unless this option is enabled.
3. Appearance
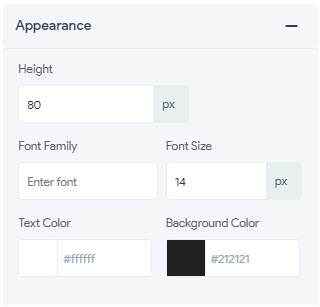
- Height – Lets you set height of the header bar in pixels(px), percentage(%), emphasize(em), root em(rem), viewport width(vw), viewport height(vh) units
- Font Family -Lets you set the font for the header bar text. The specified font must be installed in your WordPress theme.
- Font Size – Lets you set the font size of the text on the header bar in pixels(px), percentage(%), emphasize(em), root em(rem), viewport width(vw), viewport height(vh) units
- Text Color – Lets you set the text color of the header bar text to any color of your choice using the color picker
- Background Color – Lets you set the text background color of the header bar text to any color of your choice using the color picker
4. Advance Settings
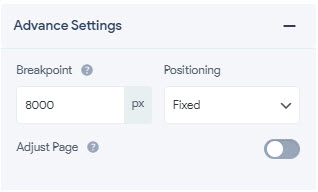
- Breakpoint – Lets you specify the width of the screen in pixels at which you would like the header bar to start showing up.
- Positioning – This option lets you set the positioning of the header bar. The dropdown offers you 3 different options on how you want to display the header bar when the user scrolls down the page. With Fixed positioning, the header bar will stay in place as you scroll down the page. With Absolute positioning, the header bar will disappear as you scroll down the page. With Relative positioning, the header bar will stay in a specific position on the page. Relative Positioning is useful when used with the shortcode.
- Adjust Page – Enabling this option will bring down the webpage’s content and align it with the header bar. By default, the option is turned off. So, You might experience that your header bar is covering the website’s content with this option disabled.
4. Animation
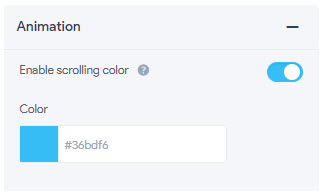
- Enable scrolling color – If this option is enabled you can change the header bar background on scrolling.
- Color – Lets you set the menu scrolling color of the header bar text to any color of your choice using the color picker
